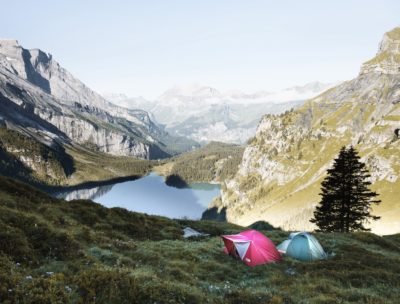
You are all set for you outdoors small adventure or for just a piece of tranquility with your kids in a close campsite. You would like to better capture the joyful moments of your kids, the nature surrounding you or the friends gathering around the camp-fire and to make nice pics you can proudly present. Here is a camping photography guide you can use in order to take better photos
When you are out for the camping and consider well prepared for your camping photography, you should consider what things you assume to picture.
Is it kids playing? Is it campfire at night? Do you want to show-off the campsite you built? Plan to hike or to take starts shots? Each of these will require a different set of skills or readiness.
Taking night shots really depends on your equipment you bring with you while for taking nice pics of kids in the campsite you need to consider angles of shooting and how to make your kids smiling and not having them pay attention for the photoshoots so the pictures will be natural and unbiased.
If you have open horizon and you would like to take landscape pictures or portrait picture in such nature background you will need to consider other aspects of photography like frame composition, better hours of landscape photography and others.
Doesn’t matter if decided to own expensive camera or you just using your phone to capture memories, in order to make it easier to take good shots you should learn the features and capabilities of your device.
As of today, you can craft nice photos in daylight with only a smartphone and the application and software features that probably built-in make it easier to make the right focus on the object, especially when having face recognition, and taking panoramic views pics or wide angles shots.
Spend some time and go over on the important features.
If you own DSLR camera you can make sharper photos, to have better night photography shots, and can use optical zooming to get close to your object without impact on quality unlike digital zooming and landscape photography can become more professional especially if you don’t want just to show your pictures in your handled device and have plans to print or the project in your large screen.
When camping photography you should consider having the following equipment with you:
Controlling your camera is a must in order to be versatile in what and how you take your photos, day and night photography, moving objects, landscaped vs portraits.
Practice the following:
Regardless of how professional you are in photography, some things are just things to keep in mind, switching to a photographer mindset and making improvements step by step.
Remember for many of the points of considerations below there are no strict rules. It really depends on your objectives. But surely you need to consider all these points in order to reach your photography objectives.
This is how long your camera’s shutter stays open for and it can be read on either the back of your screen or within the viewfinder. It is typically a fraction or a whole number. Measured in seconds.
The longer the shutter speed the more motion that will be captured and the stiller you need to remain. This is great for capturing nighttime scenes.
The faster the shutter speed the less motion will be captured. This is great for capturing fast moving objects like sports action.
In most camera’s you will find it marked by “S” mode.
This is also known as an F stop. It controls how much of your image is in focus or not (IE what is clearly and sharply seen and what is blurred out.) It also controls how much light comes into the lens of your camera and hits the sensor (the equivalent of film.)
In general:
f1.4 = Enables high shutter speeds, not much is in focus.
f2.8 = Enables almost as high shutter speeds, more is in focus. Great for portraits.
f11 = Needs slower shutter speeds, much more is in focus.
f22 = Needs the slowest of shutter speeds. Everything you point your lens at, should be in focus. Best used with a flash unless there is tons of available bright light.
On your camera, this is also known as AV mode.
This is what is the range of distance within the subject that is acceptable and sharply in focus. It can be controlled using your F stops.
Light sensitivity of your camera’s sensor. The higher the ISO, the more sensitive your camera will be to light and the grainier your images will be. The lower the ISO, the less sensitive the camera will be to light and the less grainy your images. Higher ISOs allow for faster shutter speeds.
Manual- A shooting mode on your camera that enables you to control every aspect of shooting. You can manipulate the shutter speeds, ISO settings, aperture settings and loads more. On your camera, this is the “M” mode.
This term is used very, very interchangeably in the photographic community. It can mean your shutter speed, a single photo, and other things. Your camera has something called, “Exposure Compensation” that depending on the meter will either make your image brighter or darker.
be aware of the angle of your photo shooting. Consider changing from where you take your photos. Taking pictures from zero height can give wonderful results and perspective of the main image in your photo. Same for shooting photos from high above the main object.
Environment– do your thinking and planning. What is your objective when taking a photo. What do you want to include in the photo that will highlight the main objective;
Consider the ratio of sky/object/ground you put in your photo. Not too much sky and losing the highlighted main image. Not too less. Usually, this called the rule of thirds. In which the photoshoot is done while dividing the image up into three horizontal and vertical sections.
Do you place your object in the center of the frame? Or on its side?
Movement– would you like the object of your photo to be and to feel its movement?
If so there are some technics for this and we will mention them.
If you want to get a picture without smearing, you need to understand the camera’s shutter speed or adjust the camera to a sports shooting mode, in which the camera will automatically balance the closing speed of the shutter and other parameters to adjust the camera for shooting objects in motion.
You can find photos in which the object is sharp but the background is blurred. That is done when tracking with your camera in the right speed on your moving object so the camera will get the object relatively frozen while the background will be smeared due to the movement of the camera.
Next time when you are trying to photograph Cheetah or just the cat in your street, you should try this.
Some pictures can be taken whenever you manage to. Some pictures are best taken in the morning time.
In the morning time, the light is cooler. The color temperature of the light is cooler with more bluish tones as light bounces off fewer particles in the air. So when taking a picture early morning time, not only you will be proud of yourself of the successful start of the day and a less crowdie one which will allow you more easily to take the compositions you want but also will earn natural bluer sky.
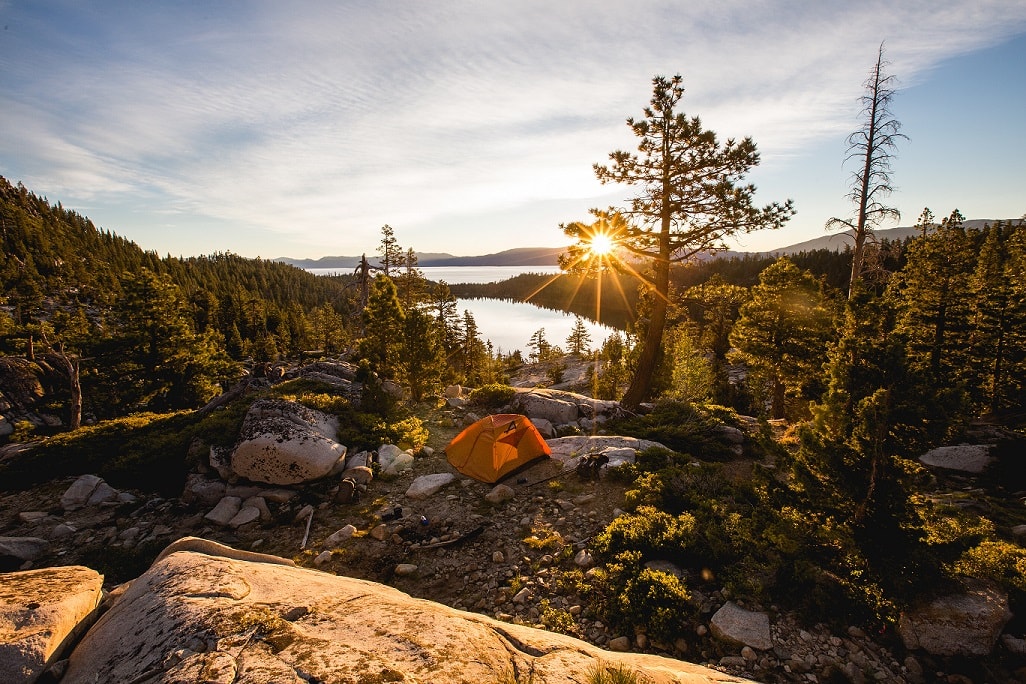
At evening time you will earn the golden hour when sun setting off the sky and golden skies reveal, and stunning pics can be taken.
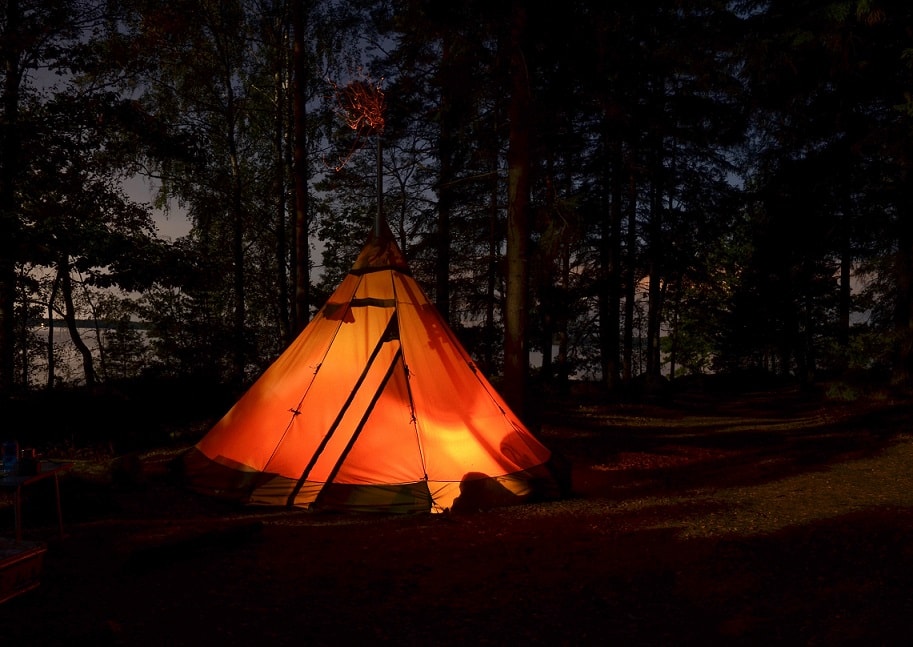
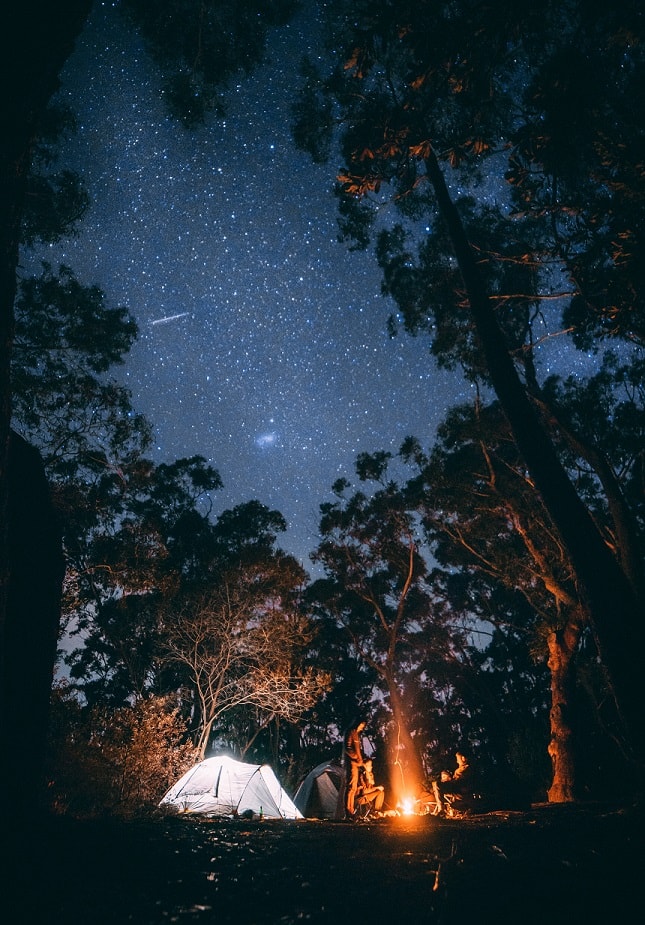
Camping photography is of course also about taking nice campfire pictures, which can be a really nice hobby.
You can eliminate unwanted objects in the background by having a proper camera configuration and its sensitivity to light. You can make the fire to look live and even if the picture is not fully sharp or perfect it still can become the one you choose to put on your desktop because of the details you see and the details that are hidden.
Campfire photography many time means night photography as well. For proper campfire photography, it is recommended to use a tripod, a remote trigger or a self-timer. This is in order to have the camera balanced and stable and that you can configure your camera to take a longer exposure times without hands shaking.
But don’t limit yourself when using tripod…you should be able to move yourself to the right place of action while knowing to control better your camera settings.
If the screen of the camera is not light-supported, bring your headlamp, cell phone or other sources of light.
Also, you can consider having a light source as a complimentary for your picture composition if you want a certain object to receive more light over other objects in your frame.
A light source is also required sometimes to add more reach colored objects to night photography.
Light your tent and see how much you upgrade the pictures by doing so.
Shutter speed: If slowing down the shutter speed, remember you are more sensitive to the moving objects.
Fire intense: shoot when the fire is not too intense
Getting this right, you will need to balance between the shutter speed you define for having enough light inside your picture (while using also the ISO and aperture settings) and still having it fast enough to freeze the objects (like the people inside the frame, unless you want it to be a blurred picture).
ISO: Don’t raise too much the ISO value as you might end up with pictures with too much noise (grained pics). It really depends on your camera as nowadays there are cameras that can give good pictures even at high ISO values.
Wind: consider the direction of the wind if you are able to plan your camping spot and direction of photo shooting. This way you will be less susceptible to the wind which can impact the camera’s stability.
For capturing the starry night, the tripod will become more necessary. Setting the shutter to 20-30 seconds should be high and good enough. Higher than that you will start receiving light trails of the stars (which can be nice as well…if this was your intention).
Don’t delete photos from your camera at once during the camping. This is true for camping photography and in general. Do this at home, on a big screen. You can be surprised how some goofy pics can look appealing on a bigger screen or you’re your eyes catch having a second look.
And most importantly, remember why you are here, to enjoy nature. Learn when it is the time to wait and plan your photo capturing and when you need to enjoy your kids, breathe nature and make your nature-environment memories.
Happy camping, happy outdoors, and happy camping photography.
Great article! Camping photography truly captures the beauty of nature. I love how you’ve highlighted those magical moments. WildKamp’s gear makes the experience even better! Keep inspiring us! https://wildkamp.ph/blog/blogs/unleashing-the-beauty-of-nature-mastering-camping-photography/
fBRtIKejwhKFtiDsXxDHb
GXQpjWwwbLxcwRkaETF
Hi, check out the Instagram Engagement Booster to increase engagement now: https://socialgrowthengine.com/products/instagram-engagement-booster?src=fm
Supercharge your feed with algorithm-triggering reach with a surge of reach that pushes you into Explore & Top Posts.
Turn silent posts into traction and growth and build real authority fast.
Prices may rise soon—secure yours now — don’t miss out on this opportunity.
Regards
Ryan Turner – GMB Growth Specialist